Difficulty: ★
This post contains affiliate links, meaning the writer may get a small commission if you decide to make a purchase through the links below, at no cost to you.

noun: art; plural noun: arts; plural noun: the arts1. the expression or application of human creative skill and imagination, typically in a visual form such as painting or sculpture, producing works to be appreciated primarily for their beauty or emotional power.
I think that when most makers are creating, they are creating art in some way. If we take the creation of a bath bomb as an example, the definition above tells us that this little handcrafted parcel of relaxation can be art in many ways. Perhaps it creates swirls of colour and froth as it dances across water, perhaps it releases intoxicating, fragrant oils that bring a person serenity and tranquility as they embrace relaxation. Or, perhaps this little bundle of art has been painted in a way that makes it *almost* too beautiful to use.
Painting bath bombs with mica powder was one of the main reasons I began creating bath and body products, and after ten years I've gained some tips and tricks when it comes to creating beautiful designs using mica. I will add that the following points are simply based on my own preferences and practice, and that they are what I have found to work best for me. If you do something differently or know of something else that works for you, that's great - and I'd love to hear more about it, so please drop a comment! Nonetheless, I'm hoping that one or more of the following points can help others build on their skills and practice when it comes to creating beautifully-painted bombs.

The Basics:
I want to go through some basics for anyone who has never painted bath bombs or is very new to the process. The basic items required include: bath bombs (that have been dried for at least 24 hours), mica powder, isopropyl alcohol (91%-99%), paintbrushes, containers/a palette, and paper towel or an old cloth for cleaning your brushes. I go into detail about how to choose some of these items below, but any variation will work when you're just beginning to dabble with painting bombs.
Basically, you want to mix a small amount of mica powder with a small amount of isopropyl alcohol in any well or reservoir to create your "paint." When I say "small amount," here, I mean approximately 1/8th of a teaspoon of mica powder to 1/2-1 teaspoon of isopropyl alcohol. As I discuss in the tips below, there's no perfect ratio to follow for this, so trial and error and practice are your friends! Make sure you mix the "paint" very well using your paintbrush, gently removing the excess off the brush as you remove it from the well, and then you can simply drag the brush against your bomb. Ideally, you want the paint to come off the brush and onto the bomb as opaque, but not crumbly. The "drag" of the brush should feel smooth, without resistance, just as if you were actually painting. Between colours, you want to clean your brush using clear isopropyl alcohol rather than water (as water left on the brush can activate your bath bomb!), and run it onto paper towel or a cloth until it runs clear.

Before we get started, I also want to link here, some of my favourite products to use when painting my bath bombs. You'll see many of these used in my photo and video content for Fizz Fairy, so I thought it would be convenient to list them for you!
- Fizz Fairy Mica Powder
- 99% Isopropyl Alcohol
- Silicone Painting Mat
- Complete Paintbrush Set or Basic Paintbrush Set
- Palette (Air Tight) or Palette (Silicone Tray)
- Anti-Slip Turntable
- Mini Measuring Spoons
- Liquid Droppers
- Spray Bottles
Okay, now let's get into the tips!
10 Bath Bomb Painting Tips
1. Choose the right alcohol: I prefer using 99% isopropyl alcohol, but you can use anything between 91%-99%. Percentages below 91% contain water, and can activate your bath bomb, causing it to fizz as you paint! One downfall with 99% however, is that is does evaporate slightly faster. Regardless, I do prefer the end result using it. Some makers like to spritz their bomb with alcohol before beginning to paint, as it cause the mica to sink into the bath bomb slightly more. You may want to try some different alcohols and methods to determine what works best for you!
2. Be mindful of drying time: Always let your bath bombs dry overnight, or ideally 24 hours, before painting them. This allows them to fully dry and harden. Additionally, you should wait another 24 hours after painting your bombs before you package them. Again, this process will allow the alcohol to evaporate fully, leaving the beautiful mica behind, and lessening the chance of damage to your artwork.
3. Practice mixing mica: There is no perfect ratio for mica to alcohol when it comes to painting bath bombs. You need to determine a consistency that works for you through trial and error. Generally, I prefer a more fluid consistency when I’m filling an area, and a slightly thicker consistency when I’m working on fine details or line work. Generally, I look for a shimmery swirl as I’m mixing my brush in the well or reservoir, and when I lift my brush out, the colour of the swirl should be noticeable on the bristles of my brush. There shouldn’t be any clumps, but it shouldn’t be translucent, either. When you apply the mica and alcohol mixture to your bath bomb, there should be a comfortable pull as you move your brush across the bomb, and it should look similar to actual paint. If you feel drag while painting, then the mixture may be too thick, however you can simply add more alcohol to solve this problem. If you're painting and the bomb bomb simply looks wet and not coloured, then the mixture may be too thin, and you need to add more mica powder.
4. Think of your bath bomb as a canvas: Work on intricate bath bombs like you would a canvas, starting with whatever colour creates the background or base colour, and working forward. Remembering when layering colours that using lighter tones in the background will allow you to more easily cover edges with medium and darker colours, giving you clean lines as your move forward with your painting. Fine details should be done last.
5. Use appropriate containers to avoid waste: Choose containers or a palette according to your specific project. If you're only working with one colour, use a small single container. I prefer small plastic jars with lids, so that the lid can be put on when you're between coats or overnight, so that your alcohol won't evaporate and be wasted. On the other hand, when you're working with many colours, you want to use a palette with deep wells (preferably with an air-tight lid!), or I've found that silicone/metal muffin trays also work great. Then, when you’ve completed your project, you can choose one of two routes: 1.) You can cover your palette if you have an air-tight lid to save the mica and alcohol mixture or 2.) you can allow any leftover alcohol to evaporate, and then store the palette or muffin tray for your next painting project, still saving the mica. You can simply add more alcohol to the mica leftover in each reservoir at a later date, and it still paints the exact same.
6. Save scrapped bombs: Keep some damaged/leftover bath bombs on hand to test out new micas and mica mixes before using them on your bath bombs. It can sometimes be challenging to create a specific skin tone or character colour, so this will allow you to try the colour first and make alterations, before using it on one of your final bombs. In my experience, certain micas have more shimmery, translucent qualities, while others are more opaque. Depending on what look you're trying to acheive, either one of these might be suitable. However, if you do purchase a mica powder that wasn't exactly what you were looking for - don't worry! Try mixing it with other mica powders or glitters to see if you find something you like to make it salvageable, and using scrap bath bombs can be a great way to do this. Additionally, these "scraps" can still be used or donated even when full of mica swatches - so it's a win-win!
7. Experiment with different brushes: One question I've been asked many times is what brushes I use, and truthfully they're just craft brushes from the dollar store! I don't spend a lot of money on brushes, because I do find the mica and alcohol takes a toll on them after awhile, and that they need to be replaced. My top three brushes that I use the most include:
- a flat, square-ended brush for filling areas and for painting long, fine lines
- a filbert, flat and oval-ended brush for blended and creating round edges
- a pointed round, with a sharply pointed tip for intricate detailing
8. Try different techniques: Painting with mica is similar to painting with watercolours, in that you can paint “wet on wet” and “dry on dry.” You can use these techniques to your advantage, depending on what effect you’re looking to achieve. You can try blending wet colours into one another to create seamless transitions or gradients. Alternatively, you can give your mica a few hours to dry before adding more layers or details, which will help you create fine lines and clear details.
(wet on wet vs wet on dry?)
9. Consider different tools: Even if you aren’t that comfortable using a paintbrush, you can still use different tools to paint your bombs! Get creative and try different methods, just as you could with real painting. I’ve seen droppers used to create a look of “spilled” paint on bath bombs, toothbrushes flicked for a speckled look, and even sponges to create beautiful gradient effects. Get creative and messy with the tools you use to apply your mixture, and you’ll likely achieve some unique and one-of-a-kind effects! Using a turntable can also be very helpful when painting bath bombs as it allows you to view all angles without having to touch and move the bomb.
10. When all else fails, use glitter: Sometimes, despite our best efforts, our mica painting just doesn't end up turning out as we'd hoped! When this happens, you can try adding bio-glitter or eco-glitter to your bomb.
-
Painting bath bombs using mica powder and isopropyl alcohol can be a great activity for makers of all ages. I've painted bath bombs with children as young as three (make sure they're supervised!), and it can be really fun for a group to try. I've made bath bomb painting kits for birthday parties, workplace team building events and sip and paint nights - all with great reviews. It can be a relaxing solo activity or fun group activity
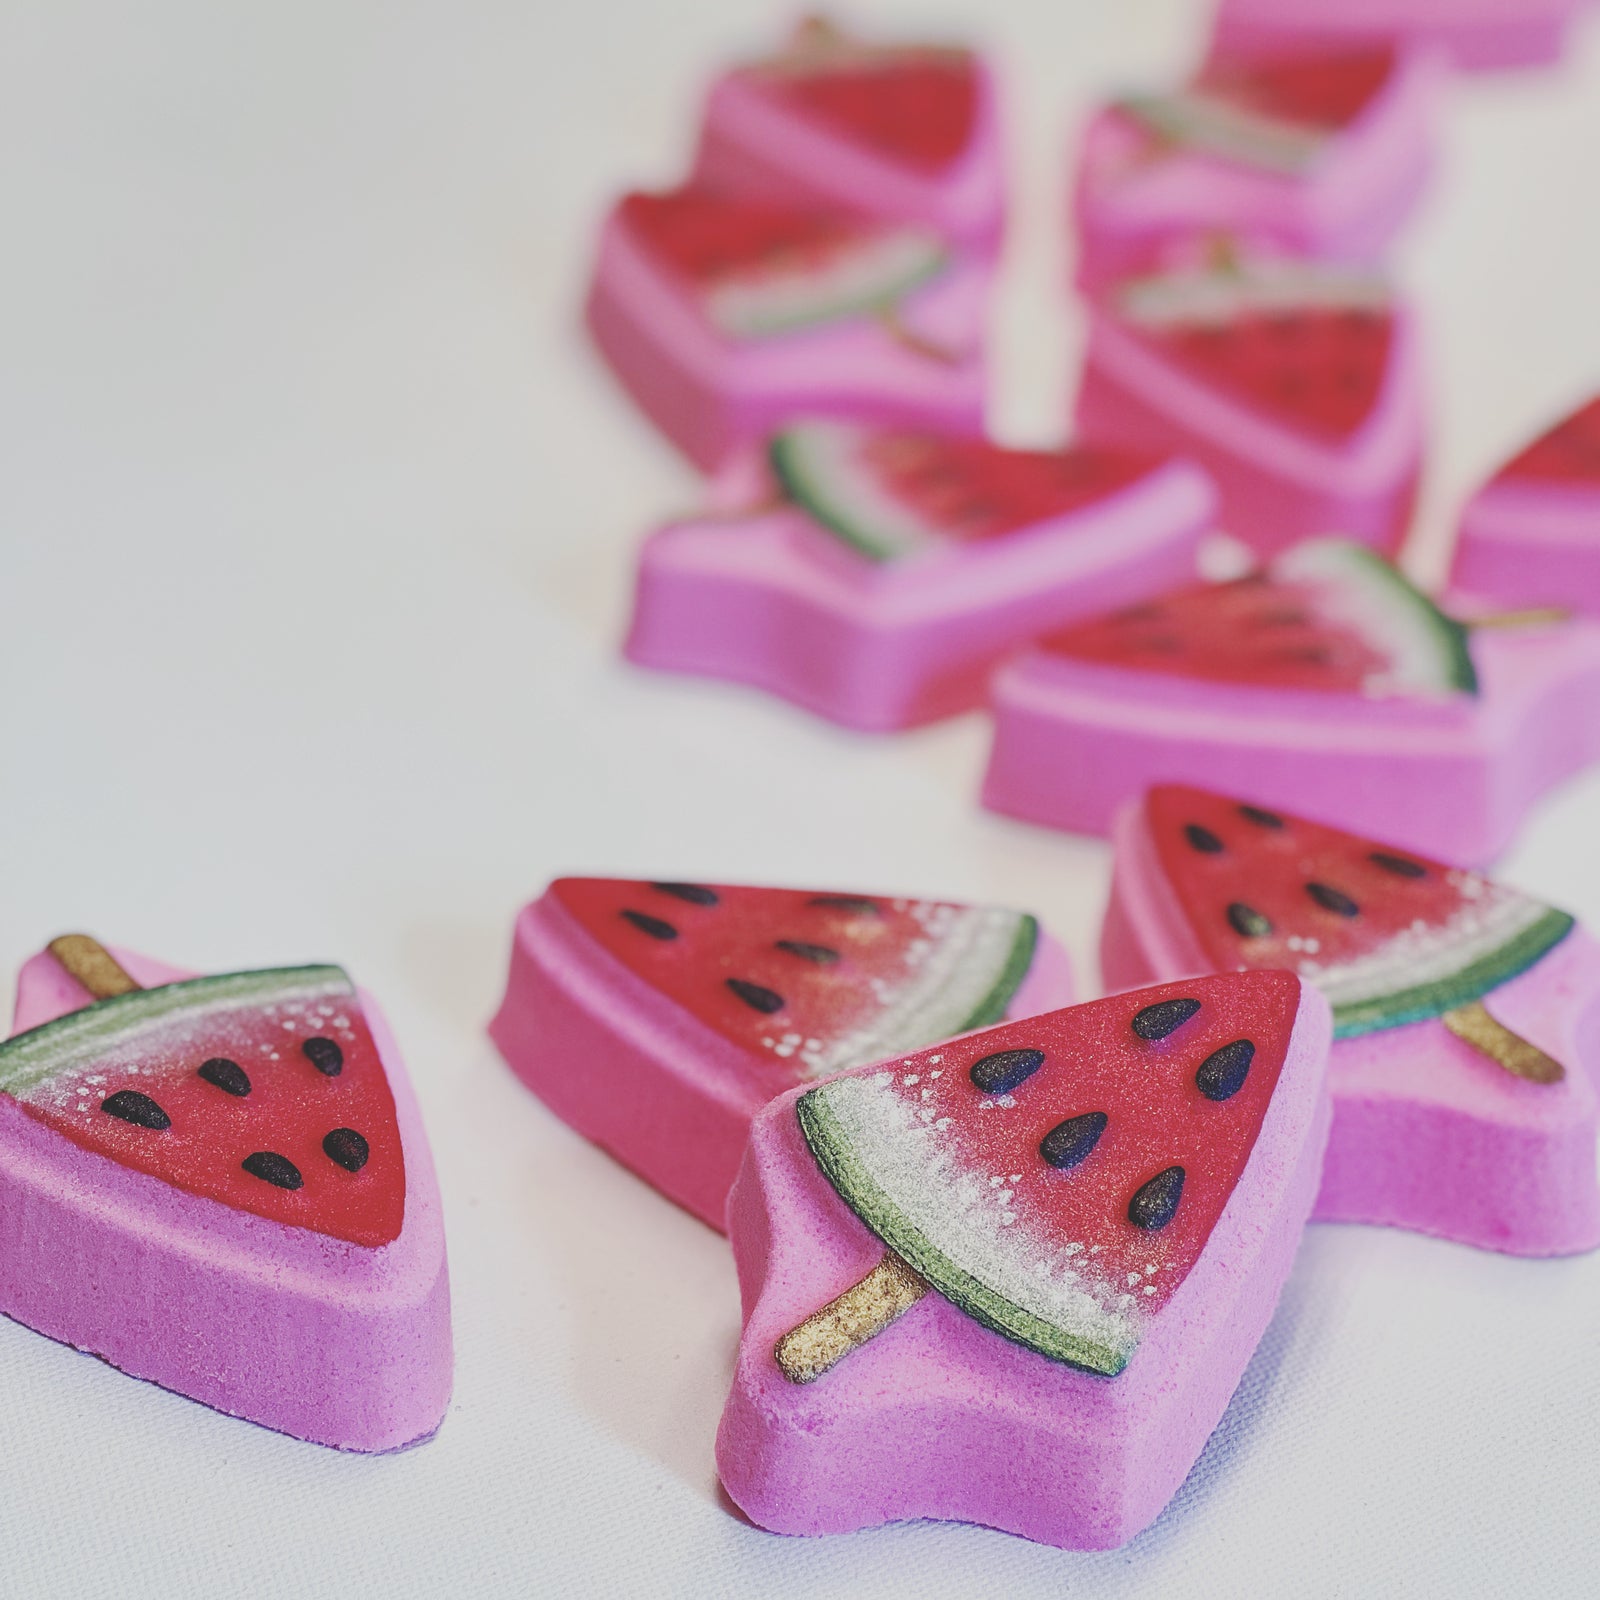
Want to purchase one of the molds used in our photos?
- Watermelon Popsicle Slice (try it with our juicy Watermelon Jolly Rancher Candy Fragrance Oil!)
- Lemonade Cocktail (try it with our energizing Lemon Crazy Fragrance Oil!)
- Westfalia Mini Van with Surf Board (try it with our refreshing Sea Salt & Agave Fragrance Oil!)
See something else you liked in one of our photos?
*All of the above content is original and belongs to Fizz Fairy Inc. If you would like to use any of this content, we ask that you please give us credit!*